Saturday, June 7, 2014

That's a Pretty Big Deck

Yea I went there with the Finding Nemo reference AND the innuendo.  What of it?

One of our favorite things about our house is the ginormous deck.  One of my least favorite things were all of the splinters I got in my feet every time I went outside.  Because I refuse to wear shoes in the spring and the summer.  It's a rule.  And I especially refuse to wear shoes on my own deck.  Well I certainly learned my lesson during this next project- I ended up with a two inch splinter in the middle of my foot that I broke in half.... it ended up coming out on its own.  Kind of.  Eventually.  The good news is I didn't die, and all my limbs are still attached.  AND, we finished our deck project.

We knew we wanted to hop on board the gray-deck-white-rails train.  We also knew we would definitely NOT be replacing boards or anything like that, so we went with the best option we had- Rustoleum Restore deck paint stuff.  This stuff is baller status, and that's an official HGTV term.  A few things about this: it's expensive.  Not as expensive as replacing your whole deck.  But it's pricey.  And you need a lot of it- you probably need more than you think you need.  We had to go back to the store and double our order.  Also, it is extremely- EXTREMELY- messy.  We learned from my dad's mistakes and papered the entire deck rails/house (photos to follow).  It got all over Scott's shoes.  Just a warning.


First thing we did was sand and paint the rails.  Above, you can see how pretty I thought the new sanded/old weathered wood were together.  And also a "before" shot of the state of the deck.  Many a splinter was had here, on the rails and the floor.  No bueno.  


Paint paint paint.  This took a thousand years.  I think it probably took 8 hours or more between 4 people to do two coats of the white.  It was seriously a pain in the butt and I got sunburned on only half of my body doing it, so it was also stingy and embarrassing when I went back to work.  BUT- look how good it looks, even with just the rails done.  


This was the following weekend, since painting the rails took so much longer than expected.  Here you can see my lovely- and also time consuming- papering job.  And then we got to paint.  

Every other step so you can still climb up and down as needed and don't paint baby in a corner.


The color we chose is called "slate."  It's sort of a medium gray with maybe a little bit of blue?  I'm really bad with colors.  Just check out the photos and maybe you'll get the idea.  You need two coats- two THICK coats- and it takes a very long time to dry, as well.  But, when it's done....

Drying....

Dry!

SOOOOOOOO good.  This restore stuff is made for old wood decking.  It is super thick, so it fills up splinters and cracks and holes and whatever else, so the wood won't come off in your toes anymore.  It also has grit in it, so it's not slippery in the rain.  We chose this middle/light gray, because I was afraid a darker color would be too hot in the sun- but I don't know if that is something that really happens or not.  


We need to do some touch-ups; Abby ran through some white paint and got footprints in some places, and there's one spot where I think we were too impatient and put furniture on it before it was ready and now there's a circle of wood showing through.  But other than that, I think it looks a billion times better, AND, I can be as barefoot as I want without any worries.  Mission accomplished.  Bring on summer!

Monday, June 2, 2014

Mailbox Garden Interlude

I'm interrupting the whole "home renovations" thing in order to bring you a quick and fun little project that I've been wanting to do for about a year- my mailbox garden!  This is an incomplete project, as I'm planning on revamping the mailbox itself this summer.  We did this one Saturday over spring break, and it was super fun and simple.

Before:


Look at that sad, lonely little guy.  Doesn't that sight just break your heart?  Less than 100 bucks later, we had: 


Cute, right??  Those lilies ended up popping wide open a few weeks later to look like this: 

Wowser!

Not too shabby for a half-day project!  Also, when digging up the grass and putting in the stones, check out what we found: 

Nice

Obligatory Before/After comparison shot: 


Saturday, May 31, 2014

How We Celebrated Our Anniversary- Part One: Let There Be Light

By putting in a new window and blowing out some walls, of course!

Hi everyone, it's been a while ("FINALLY," exclaims my dad).  We have a lottttt to catch up on.  For one thing, Scott and I celebrated our first anniversary a few weekends ago.  It's been a full year of mawwiage, new jobs, house purchasing, and renovating.  That last part has been fairly recent, and is the focus of this entry.  

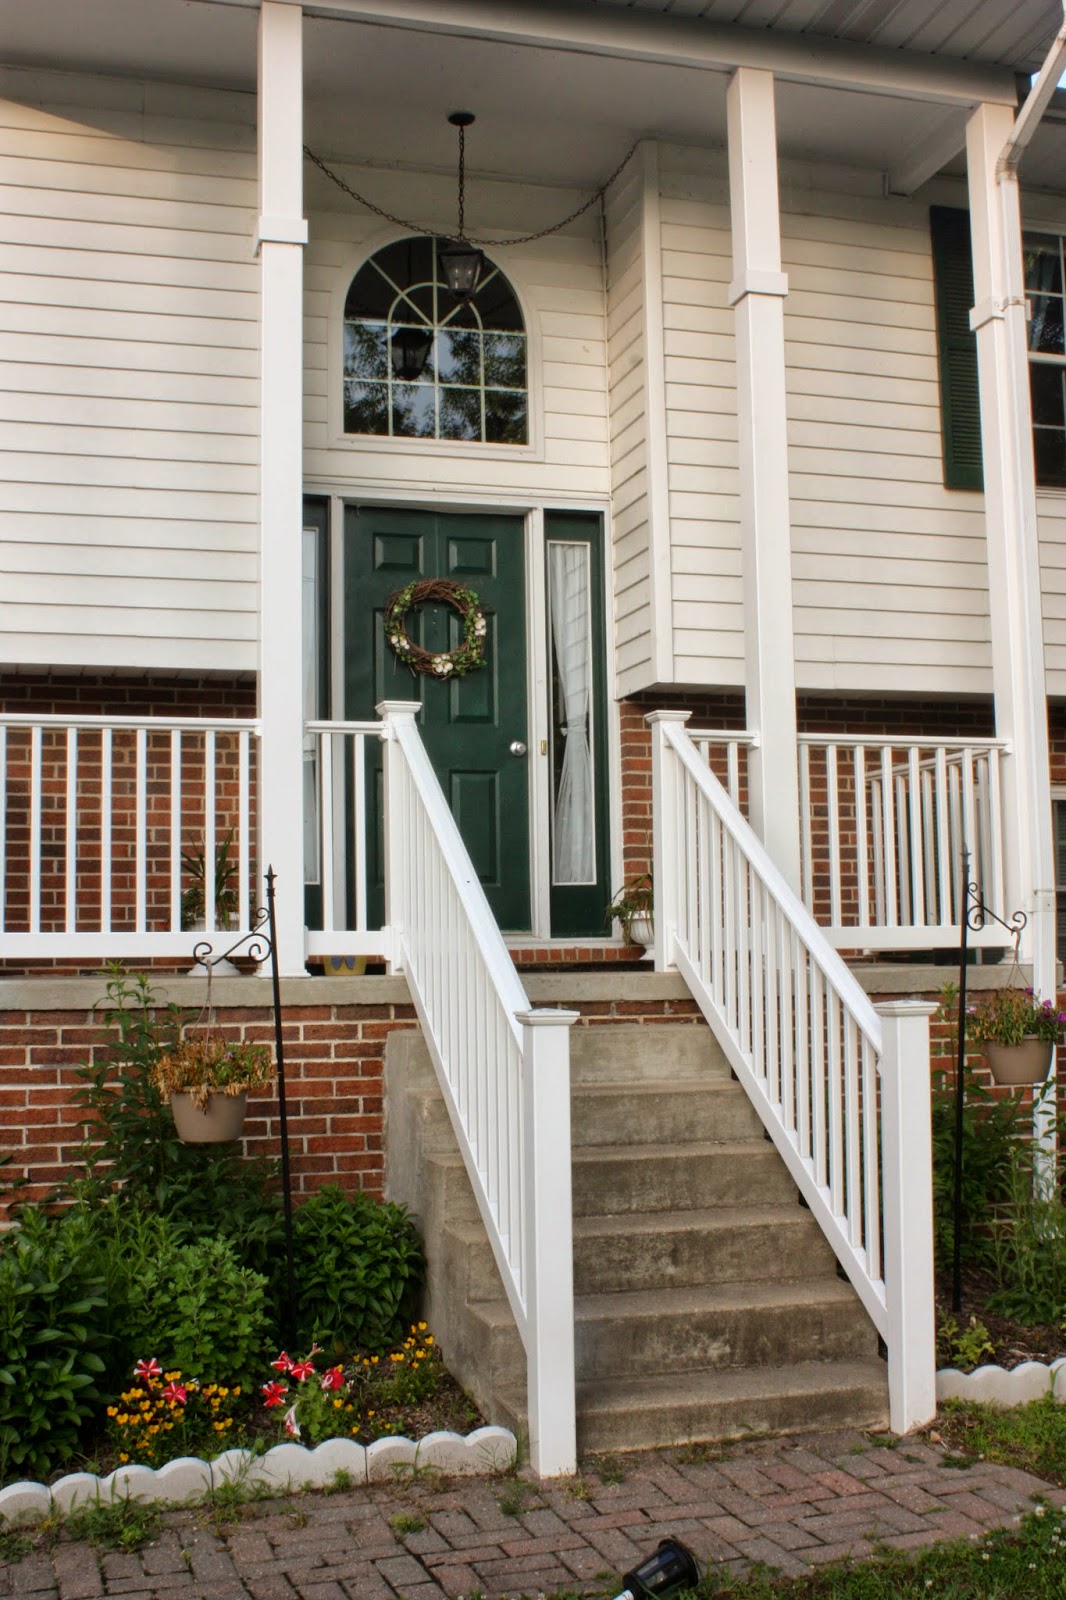
When we landed in our home, we had pretty much only two gripes with it: 1) the entry way blows (there pretty much isn't one in a split-level), and 2) too closed in and dark.  In the span of two weeks, we've managed to work on both of those issues.

First, our window!  My pride and joy.  One of the first things I said when I saw the front of the house, was "what's with that space over the door, there should be a window there."


You can't even know how much brighter the house is just from this window!  Hint: it's SO MUCH BRIGHTER.  Abby has always loved laying at the top of the stairs just in case someone decides to come over, but now she never leaves, because there's a giant swatch of sunshine that she can lay in.  Here's some more photos because I'm obsessed.  


LOOK how bright!


As you can see, we still need to paint before it is DONE done.  But I just looove how the foyer looks now.  The rug and the plant and mirror made it nice, but the sunshine from the window makes is wonderful.  And this was a super quick project (then again, we definitely did NOT DIY this.  It was super fast for the pros).  I left for work in the morning, and by mid-afternoon, it was done.  Ten-Thousand percent would recommend.  

Stay tuned for How We Celebrated Our Anniversary- Part Two.  That's the one where we blow out a couple walls and live out of a box.  Are you excited?  Cuz I am.  

Thursday, March 13, 2014

Plant Life!

I really love having houseplants.  My grandmother always had a whole bunch of houseplants by the sliding door in her house, including the little cactus puff that I once tried to grab like a baseball- I ended up paying the price and learning my lesson on that one.  Not trying to sound too granola, but bringing some nature into my home really boosts my spirits.  Living nature!  In my home!  It's green, it's fresh, they clean and purify the air, and hey- they're pretty!

I'm a researcher by nature.  So I researched beneficial plants, and cross referenced them with the ASPCA list of toxic and non-toxic plants.  Because Jack really likes to nibble on greenery, and Abby... well, I don't think she'd hesitate to eat pretty much anything.  So while I might not know the names of all these plants, I do know that they are for the most part* non-toxic to the babies!  All you have to do is google the name of the plant and ASPCA- for example, "aspca english ivy" and it will pop right up to their site and let you know.  I have it pulled up on my phone every time I shop for new plants- and I have definitely gone through 15 different plants over half an hour to find the perfect one- for both appearance/care/needs AND non-toxicity.

So, here's a quick tour of the greenery in our home thus far!


When you first enter our home, you're greeted by our ponytail palm.  This one is also our newest plant!  We just picked it up this weekend, as I have been wanting a bigger plant for what tiny little entry space we have.  With a split-foyer, we don't have much of a landing- and I've been really working on making it feel more welcoming.  This plant, which is the perfect size to fit in the corner where the door can't knock it, perfectly fit the bill.  I bought the planter from Target and just dropped the store's container right in.  I'll re-pot it eventually, but the weather's about to take a nasty turn and it's too darn cold and rainy for that right now.  


Next, we move to the living room.  This space was featured a recently in my "Favorite Spaces" post.  Back then, this was an empty pot of dirt, because the African Violets that had been residing there totally croaked over the winter.  This pot is recycled from our wedding- the raku centerpieces were made by my dad, and the white ones were used on the head table, so I'm happy to be able to re-purpose something so lovely and with such meaning.  This plant is Fittonia "Superba"- dudes, I don't know.  I bought it from Lowe's and searched it on the website and it said it was good.  It's low/indirect light and claims to be easy to grow so I'm down.


My hanging plants!  I was so proud of these.  The little copper planters came from Urban Outfitters and were a Christmas gift.  These plants are Peperomia "Isabella"- again, another Lowe's find.  I wanted something interesting and drapey, and these were perfect.  It was one plant that I split after originally wanting to get two different plants and not being able to find two pet-friendly ones.  These are medium light, so they are right in front of the window.  They've been there for a few months now and seem to be doing great!


This hyacinth bulb* was an impulse purchase last year.  We got it from the grocery store of all places- it was super cheap and seemed like a cool idea.  It grew, it flowered, it smelled and looked great, it fell over from it's own weight, and then it died.  Me, being the lazy person that I am, broke off the dead dried up pieces and left it on the bar all winter.  Now- guess what- it being a bulb and all, it's growing back!  How cool is that?  The amount of roots in the bottom has probably quadrupled since the winter.


Succulents!*  I gave succulents to my bridesmaids when I asked them to join my bridal party, and kept the remainders for myself- so two of these babies have been going for over a year and a half.  The Jade Plant (far left) is the newest addition.  Sorry but I have no clue what the other two are.  These are sitting on the window sill in my kitchen, right above the sink.  The pots were a small project a few weekends ago- before, I had them in a skinny glass dish thing and I decided I wanted something cleaner and crisper.  A few coats of white paint later and voila.  Exactly the look I was going for.  


But wait, there's more.. kind of.


What's this?  What on earth could that be?


It is, in fact, the saddest and most scraggliest spider plant that ever did live.  This is the second newest plant, and the most pathetic.  On a snow day last week (yes, we had snow days last week), I went over to my parents' house and stole some of their spider plant pieces.  I put the pieces in this giant pot (I have high hopes) and put that inside a basket.  I'm really hoping it will start to grow and thrive and thicken up and fill out that pot and the basket, and eventually drape down over the china cabinet.  But right now, it hardly even pokes over the sides of the basket at all.  I put it in front of the windows during the day so it can soak up as much sunshine as possible.  Spider plants are supposed to be great house plants- they're low maintenance and filter a bunch of crap out of the air.  Apparently they also grow little white flowers, so that's cute.  

That's all we've got for now!  I still have a running "wish list" of plants on my phone.  Someday my house will probably look like the secret garden.  That's the end goal, anyway.  


*The hyacinth is NOT non-toxic- which means it IS toxic to animals.  It was the very first plant thing that we purchased, and I didn't know about the ASPCA site at the time.  I keep it up and away from Abby and on a surface that Jack has never jumped on.  Succulents are toxic on a case-by-case basis- some are and some aren't.  Again, I've got these placed where Abby can't reach and Jack is way more interested in dangly type plants and has not expressed an interest in them.

Friday, March 7, 2014

My Favorite Spaces- Tunes and Tomes

One of my favorite spaces in the house is one part of the living room area.  The lefthand side of the couch, with its velvet throw pillows and fluffy throw blanket is my reading space.  There's natural light, hanging baskets, and a record player.  


Pot of diiiiiiirt!

Putting on a record and curling up with a blanket and a Diet Mountain Dew (not gonna lie) is one of the most relaxing and cozy things for a weekend morning.  And I love love love having live plants in the house (separate post on that in the future).  


Wednesday, March 5, 2014

DIY Bar with Concrete Countertop (Part Three): Completed Project

Part one is here, and part two is here.

The bar is complete!  I don't have progress photos (again, ugh!) but I will explain the different parts that all came together to create this project.  Here is a photo of the bar when I last posted, right after the counter top had been completed:


And here is the top piece, completed:


Let's break this down.  The wooden top piece is some piece of something that my parents found at an antique store.  I think maybe it was the top part of a buffet?  No clue.  It also was not that color- it was more of a yellow-oaky type.  And there was no shelf.  Basically it was a wooden thing with a mirrored back.  We removed the mirror and painted it to match the bottom cabinets.  We had a glass shelf custom made, and bought wrought iron shelf rest thingies (this is all very technical).  We added some lights and drilled a hole for the cords.  My dad somehow attached the wrought iron wine racks to the top so they won't fall off but I don't exactly know what he did.  Which is pretty much the same for the entire project.  


Boom.  Completed bar, featuring liquor that has been left at our house over the past year or so.  Hooray!  


Monday, March 3, 2014

Living/Dining Room and the Den: Paint Edition

When we moved into the house, the walls were the same color in every room.  The ceiling was also the same color in every room- the same color as the walls.  It was like Doom.

Whyyyy is the ceiling covered in stone bricking also how is that even staying up?

Thankfully, the ceilings were painted white before we officially moved in.  And the walls were fine- very neutral, very blah- but fine.  Once we officially purchased the house, we decided we could probably start looking at paint.  

I didn't take any photos of progress or anything.  And I really don't even want to dig through and find old photos from "before."  BUT, we have only painted two rooms so far, and since everything was the same color, there's plenty of ways to show comparisons.  We will start with the upstairs!  

We started with the dining/living room space.  We went with a lightish grey color that I am in love with- I especially adore it with the white trimmings.  

Man, doesn't that just look so crisp??

Since we haven't yet done the whole upstairs (still working on figuring out where to start/stop if we do different colors yada yada yada), the corner of the dining room is a perfect comparison shot for the old/new colors.


I love it.  It looks different at different times of the day, but it always looks great.  The color is Valspar Metropolis.  Here are a few more photos from around the room, in different lighting and times of day.


Pot of dirt makes a return cameo


Alright, so that's the upstairs.  Let's move on to the downstairs/den!  My goal for the den was an earthy feel- browns, greens, off-whites, wood and brick and stone, and metallics and reds for a pop.  We are getting there, slowly.  When it was time to choose a color, we wanted a green.  I have to admit- this was not my first choice when we swatched, but Scott was really into it, so we went with it.  It grew on my as soon as it dried.  I especially love it up against the brick.  


OOOooOOOoo, Aaaaaahhhh.  I know.  Here's more:


See with the brick?  Loving it.  That hangy-downy-beam-thing is the color that the walls were before we painted them, so below is the comparison photo!

This is with the weird lighting downstairs- 
yellowish lamp light and pure white LEDs.

This color is Valspar Native Henna.  I was a bit worried that it would be too dark downstairs in an already dark room, but it is actually great and really fits the mood I was going for.  

Anyway, those are the two rooms we've completed so far.  We have the paint for the office but we haven
t gotten around to that yet.  It's really amazing what some paint can do as far as making a house feel that much more YOURS.