Monday, June 24, 2013

Home Tidbits: Displaying Photo Strips

It's no secret that I love photo booths.  I mentioned it in my about section.  We had a photo booth (a real one, like from the mall) at our wedding.  Every time I see one, we have to climb in.  Photo strips make the best souvenirs.  It's sometimes difficult to get photos of yourself and your friend/significant other/spouse when you're out and about.  Photo booths are cheap, fun, and full of instant gratification.  And, in a digital world where your photos are likely to stay stuck on a phone or computer or Facebook for eternity, it's nice to have a real, physical photo to hold and display.

Which begs the question- how to display them?  Sure, you can buy special frames for them.  But what if you have a whole bunch, or plan to continue collecting for years and years?  I had this problem when we first moved into our house a year ago.  What to do with them?  I settled on something super fast, super easy- and super temporary, if the time comes to change it up.  This method doesn't damage the photos with holes, tape or glue, and it leaves room to grow.  Basically, I just made a clothes line on the wall.  Boom.  Done.


I even included two of the strips we took at our wedding, there on the end.  The originals are tucked away in the guest book on our coffee table- but that's why you get digital copies with your rental!  I printed these out on photo paper and home and you'd never know the difference.

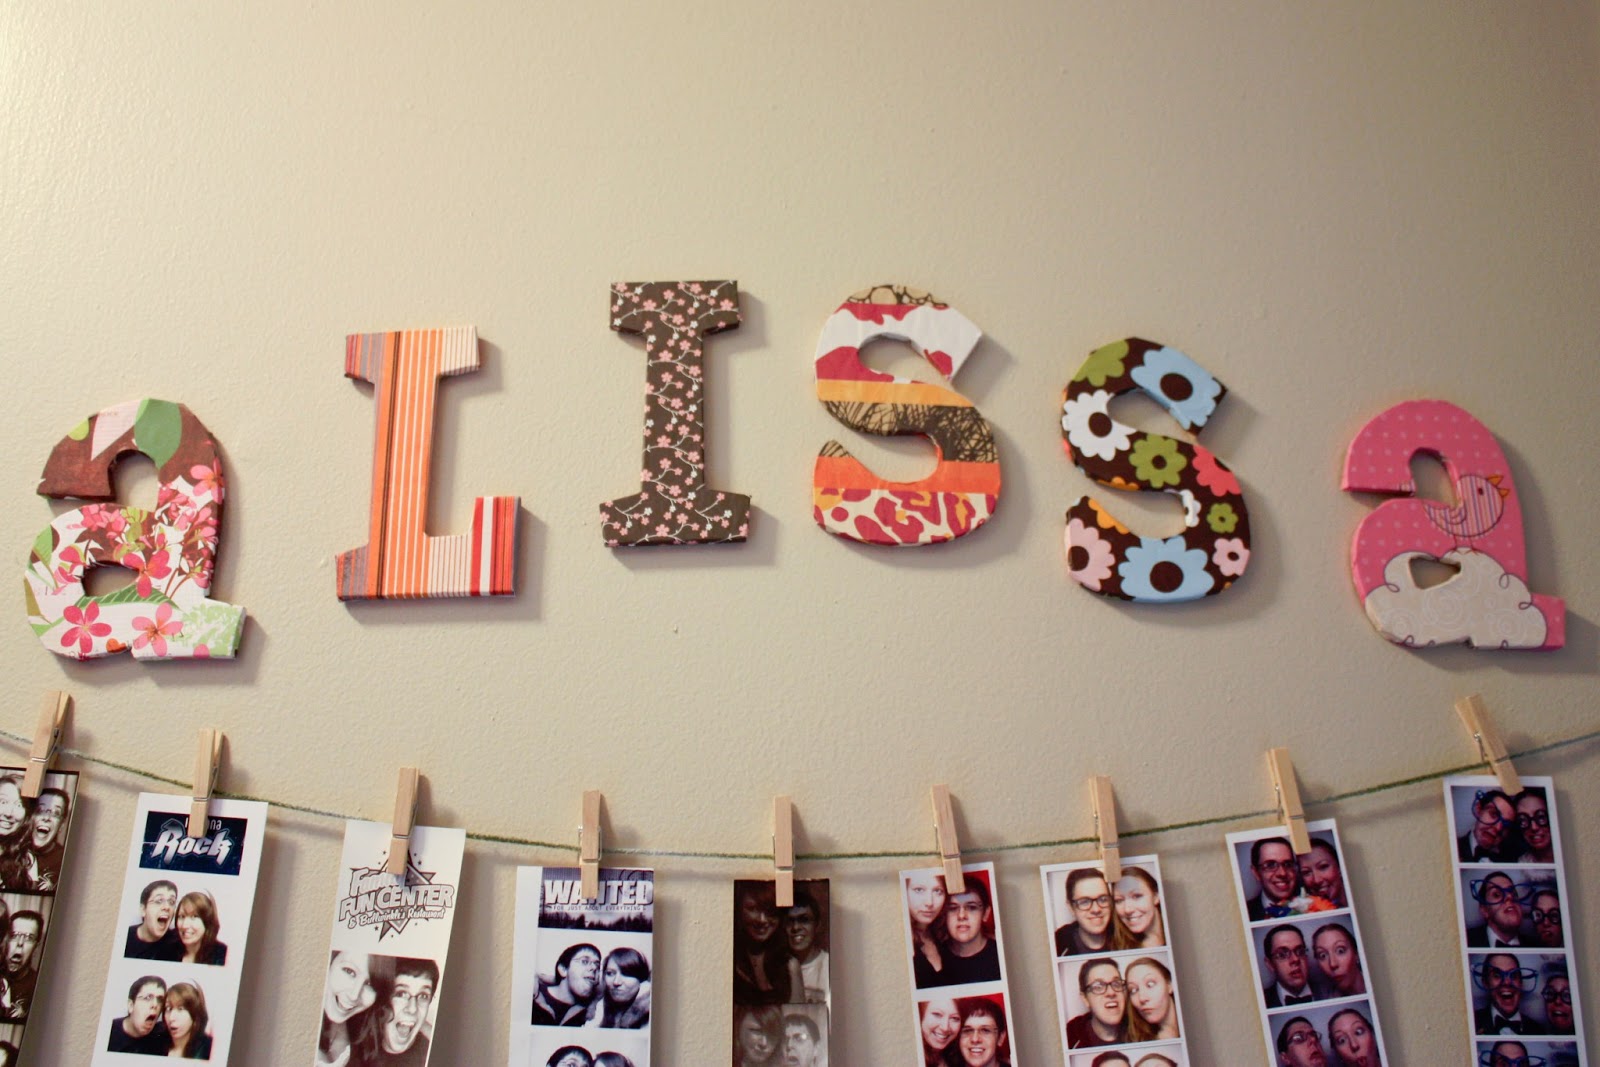
The names are a long-ago project that I completed and then looked at and said "now what?"  They're wooden letters covered with scrapbook paper.  I think they make a nice "frame" for the photo strips.  This is my kind of project.  Fast, easy, cheap.  All you need is yarn/string, thumbtacks, and little clothes pins.  You could use paper clips too, if you wanted, and those can come in fancy colors and shapes.  If you were feeling especially ambitious, you could also paint the wooden clothes pins or decorate them.  But this is mostly a temporary solution in my eyes- my goal is eventually to make something like this.  WOW.  Can't wait.  


Saturday, June 22, 2013

Little Life Things (Week of 6/14/13-6/21/13)


6/14/13-6/21/13
  • Hunkered down during a super scary storm (with confirmed tornado less than a mile from where we were) (okay I cheated a bit, as this happened 6/13, but felt it was important enough to be included!)
  • Father's day crab feast with the family
  • Celebrated our one-monthaversary of being married 
  • Created several craft projects that I'm very pleased with and can't wait to share


I don't eat crabs (I know- how can a Maryland girl not eat crabs??  Somehow I manage) but I always love a crab feast.  It's just so... summer at home.  Plus, sometimes (like this time) the non-seafood-eaters get to have PIZZA.


Brightly colored flowers that reminded me immediately of my wedding day bouquet.  AND a 3 musketeers bar, not pictured because I devoured it the second I laid eyes on it.

Favorite iPhone Pics:


Thursday, June 20, 2013

Nail Tutorial: Sponge Gradient

Gradients are my go-to lazy day mani.  They look phenomenal, like you spent HOURS on them, but secretly you know they're so easy and take 10 minutes.  I love things that look awesome and are easy and fast.  Because I'm lazy.  Now I'm going to impart the knowledge and hints/tips on to you, because it hasn't been done before.  Nope.  Never.


Materials Needed:
At least 2 nail polish colors for your gradient
White nail polish
Base coat
Top Coat
Makeup sponge wedge
Nail polish remover
Q-tips


The colors that I chose for this look were royal blue, purple and neon pink.  I was feeling pretty bold.  WARNING:  This is a messy project.  Just a heads up.  There are ways to make it not messy, but like I said.. I'm lazy.  I'd rather clean up later than prevent a mess now.  

Okay, so, paint your nails with your base coat and then with a coat of white.  Some folks skip the white part, but I always use it- it makes the colors really pop and you don't have to layer as much to get an opaque look, especially if you're using lighter colors.  So paint your nails white first.


Sweet.  Now you're ready for the fun part.  Open your bottles of lovely colors and layer them on the makeup sponge.  They should touch, unless you want the white poking through.  No need to worry about blending them on the sponge, that happens naturally (and you can fudge it later if you need to.)


Now comes the part that might take a little getting used to.  Take your sponge and starting at one side of the nail, press and roll it across your nail.  It's NOT going to look solid.  It's going to be rigid stripes, very light, possibly with white bubble things poking through.  It's fine.  Don't worry about it.  We will fix it.


Also, it's going to get on your skin.  I warned you that this would be messy.  Now what you do is just repeat the process.  Add color, swipe across your nail.  Once you have two layers or so, you can start moving the wedge up a smidge and down a smidge when you swipe, so that you're blending the colors a bit.  


When you're happy with  the amount of color, you're ready for top coat.  ANOTHER WARNING: if you don't leave a "bubble" on the tip of your brush, you'll probably end up with a tinted top coat.  Swipe your nails with top coat and marvel at how it makes it blend even more than it had been.  Then get your q-tips and your nail polish remover and do your very best to clean that nonsense up.  I always paint my nails before bed (but not RIGHT before bed or you'll ruin it under the pillow) and then clean them in the shower or under the faucet in the morning- BECAUSE I AM LAZY.  

So here are some pictures of my finished product.


Annnnd here are some gradients of manis past.


FYI, I have a rarely updated nail blog that I pulled these images from.  

So there you have it!  A few simple steps, 10 minutes of your time, and a stellar set of nails that people will always comment on.  And they usually say, "did you do that yourself??? That must have taken forever!"  Just smile and nod. 


Monday, June 17, 2013

In the Garden: Sunflower Sprouts


Last weekend we planted a sunflower garden against the back wall of our house.  We planted five different varieties in five little rows.  I don't exactly have a green thumb, and I haven't tried growing something from a seed in a very, very long time, so I was hopeful without expecting much.  Well surprise!  Within a few days, I noticed the first, tiniest little sprouts poking through in one of the rows.  Every day I excitedly pointed out more and more as they burst through the soil.  An entire row showed up.  Then there was at least one sprout in every row.  Then at least two in every row.  A week after we planted the garden, here are a few progress shots of our little garden.


Saturday, June 15, 2013

Preserving Your Wedding Flowers: Christmas Ornament


Here’s one of my post-wedding projects.  After the wedding, we came home with lots of flowers- my bouquet, four table centerpieces and the aisle decor.  I dried some of them, pressed some of them, and let the others sit in the pots to rot.  Whoops.
Well I was finally throwing all these dried up dead flowers away (three weeks after the wedding-don’t judge me, I thought I might need them for something and it turns out I WAS RIGHT) when I remembered something I pinned on Pinterest about a billion years ago.  Lucky me, I’m a craft hoarder, so I had clear glass Christmas bulbs just chilling in my closet.  Out came the bulb, off went the flowers’ heads, and just like that I have an awesome new ornament for the tree.

This thing is really a lot prettier in person.  The colors are awesome.  There’s an entire sunflower’s worth of petals in there (yellow), petals from the irises (blue), whole entire dried up daisies (purple), whole flowers from the snapdragons (pink/orange), and whole adorable little button mums (green).
I’m debating whether or not I want to write something on the glass- maybe the date or the year or something.  But I might just leave it as is and tie a little purple bow around the top.  Either way, I’m very pleased with it- another free project made with materials I already had laying around my house, and hopefully a keepsake that will stick around for many Christmases to come.

If you do this at home: consider spraying the flowers with a spray sealer.  I did this with the other flowers that I dried/pressed and saved, but I didn't do it with these.  I'm not sure that there will be any difference- maybe they will fall apart easier, maybe they will rot or something, or their colors will fade faster.  I'm not sure!  It's just something you want to consider.  I didn't think about it at all until after they were already in the bulb and there's no way to get them out in one piece.  The spray I used for my other flowers (keep an eye out for those in future projects) is a Krylon UV protective acrylic spray made for things like... dried flowers.  Just something to think about!  

Wednesday, June 12, 2013

DIY Kitchen Art- Julia Child


A while ago I came across this quote by Julia Child and I loved it.  Kind of quirky, kind of tongue-in-cheek, perfect for the kitchen.  I filed it in the back of my brain for later use.  
Now that all the wedding madness is complete, I have turned my attention to the home.  I’ve got a lot of little ideas, and more free time than I’ve had in the last 6 months!  So this weekend I went for it and tackled a few projects. 

I knew what I wanted it to look like*, and threw it together fairly quickly.  Once I had it printed, I placed it in my craft room (disaster area, by the way- it’s wedding gift storage and you can’t even walk in there) thinking I didn’t have any frames for it- when tada!  A wild frame appeared.  It’s from the dollar store and it was buried in my closet.

Here’s another example of how I make things harder than they need to be: the print needed a border.  I didn’t want a white border, because I didn’t want white on white.  I would have preferred yellow.  The paper that came inside the frame showed a mock diploma surrounded by this marbled yellow border… so what did I do?  What anyone would do.  I cut out the middle of the stock frame paper and taped my art right in the middle.  It’s temporary, but it works for now.  I also wasn’t able to put it where I wanted it- on the shelves above our cabinets- because it is too tall.  And eventually I will either paint the frame white or get a new frame- with a real mat- but for now I think it’ll do just fine.

This was a free project for me.  We are trying to curb spending for the honeymoon (and for life, really) so any projects I do have to be super low cost or free with what I have at home.


MATERIALS:
Cardstock: Had it leftover from printing the wedding programs
Frame: Had it in a closet, but it came from the Dollar Tree and was $1
Artwork/Printer

Yep!  This was all made with materials I had laying around, so it didn’t cost me a thing!  My favorite kind of project.

*Apparently I saw this exact design back when I first discovered the quote and then “forgot” about it, because I thought I was sooooo clever when I was putting it together.  Until I did a google search after I printed to (to make sure I actually had the quote correct- I really don’t think things through) and then discovered the exact same design on someone’s blog.  Whoops.  You can buy it there for less than 5 bucks.  

Monday, June 10, 2013

Happiness Unexamined

“And I believe happiness is the exact opposite of sadness, bitterness, and hatred: happiness should remain unexamined as long as possible.” 
Stephen King, The Tommyknockers
Yes, I am using a quote from Stephen King, master of horror/suspense/writing in general, as the inspiration of my blog title/life.  That may or may not set the mood for what may or may not come to transpire here one this one-of-trillions blog.  
Welcome to Happiness Unexamined.  My name is Alissa and I’m a 20-something newlywed (as of this writing, the wedding was 3 weeks ago and we haven’t yet even gone on our honeymoon) living in a rural-ish part of Maryland.  Now that the wedding is over and my career is changing (gulp), I am suddenly finding myself with something new.. something I believe people refer to as “free time”?  Which is wonderful news!  We are newlyweds!  We live in a house that has a lot of potential and we will probably be staying here a while!  I have huge dreams and plans, but not a lot of money and not a lot of marketable skills!  
I predict this blog is possibly going to be part catalog of DIY projects (successes and failures.. plenty of failures, I imagine), part dreams for future projects, a smattering of personal stuff, and a ton- a TON of photos of my completely adorable pets.  Jack is the sassy cat, and Abby is the kind of wild, smart but also kind of spastic dog.  Abby has a collection of bandanas.  Jack occasionally wears a tie.  
Here’s hoping you’ll stick around.  And also that I’ll finally keep a schedule.  And maybe clean my house.  Maybe.  Here’s a cute photo of Abby to entice you to return: